...
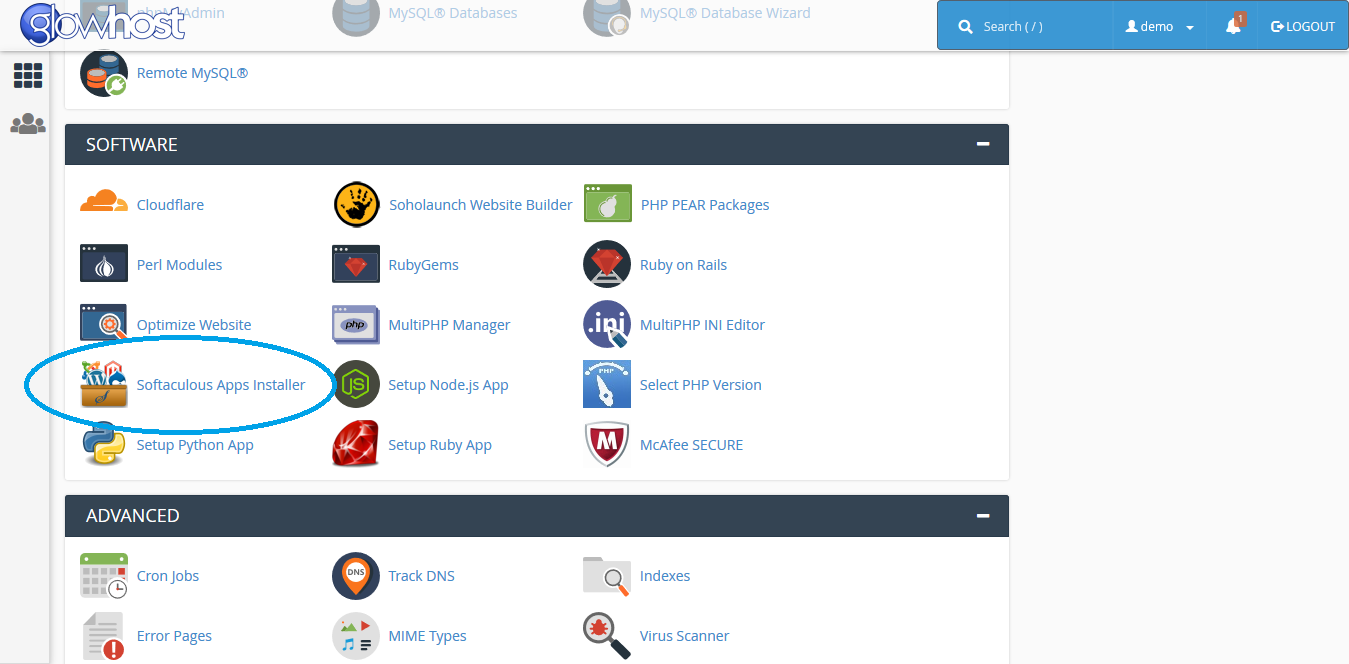
Step 1Find Softaculous within cPanel. Under Software, click on Softaculous Apps Installer. |
|
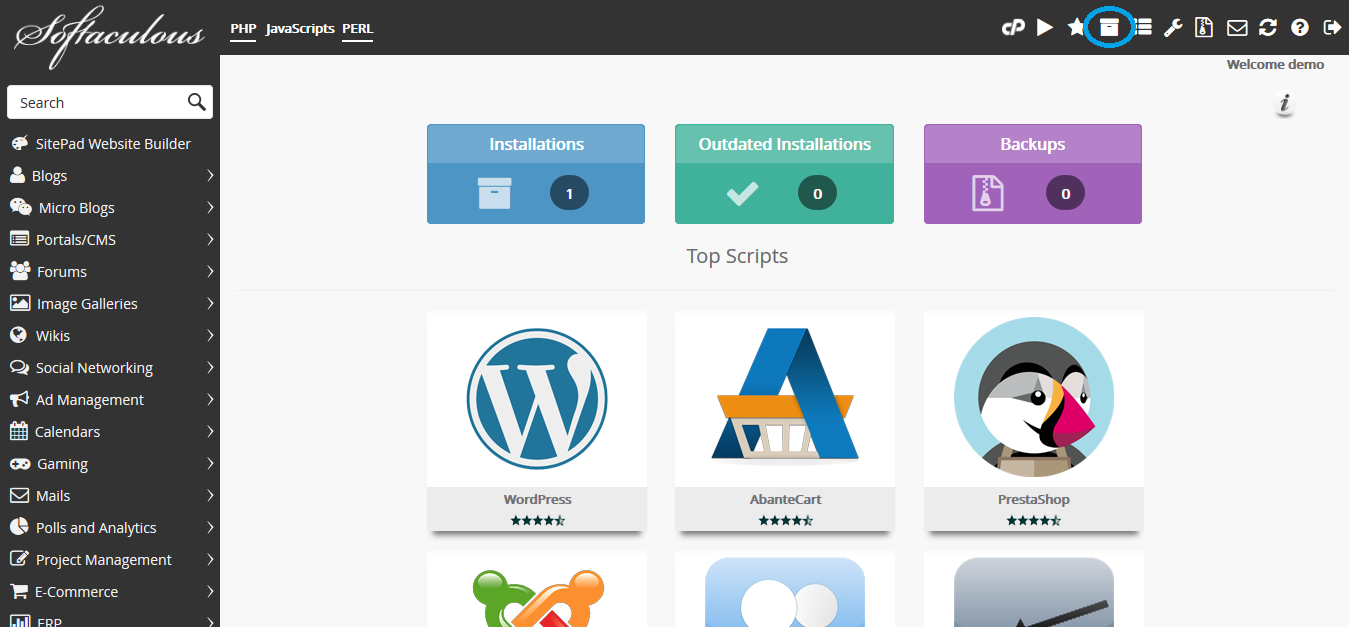
Step 2Navigate to your list of installed apps. When you hover over the correct button, it will say All Installations in a tool tip. |
|
Step 3TestClick the Create Staging icon in the row where your WordPress website is shown. |
|
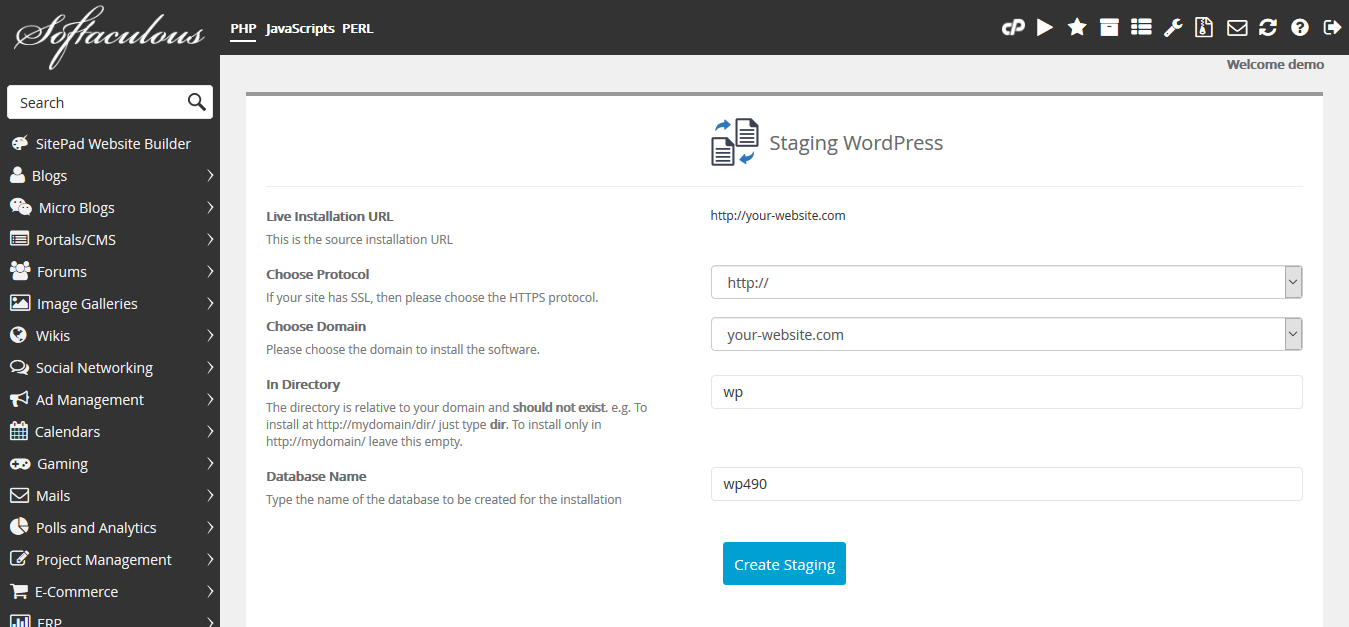
Step 4You'll have several options here. Pay close attention since you should stage your website similarly to your live website. Choose Protocol: Match your live website. Go with or without www, and likewise with http or https. Choose Domain: Choose from an available list of domains or subdomains. A folder may be the most convenient (next option), so it's normal to choose the same domain as the live website. This is a preferential choice. In Directory: Choose the install path relative to the domain you've chosen. If you've chosen the same domain as your live WordPress website, you will have to choose a folder. Some good example names are staging, test, and dev. Database Name: Pick a unique name that doesn't exist already. This is where your non-file WordPress data will be stored such as posts, settings, and the pages.Test |
|
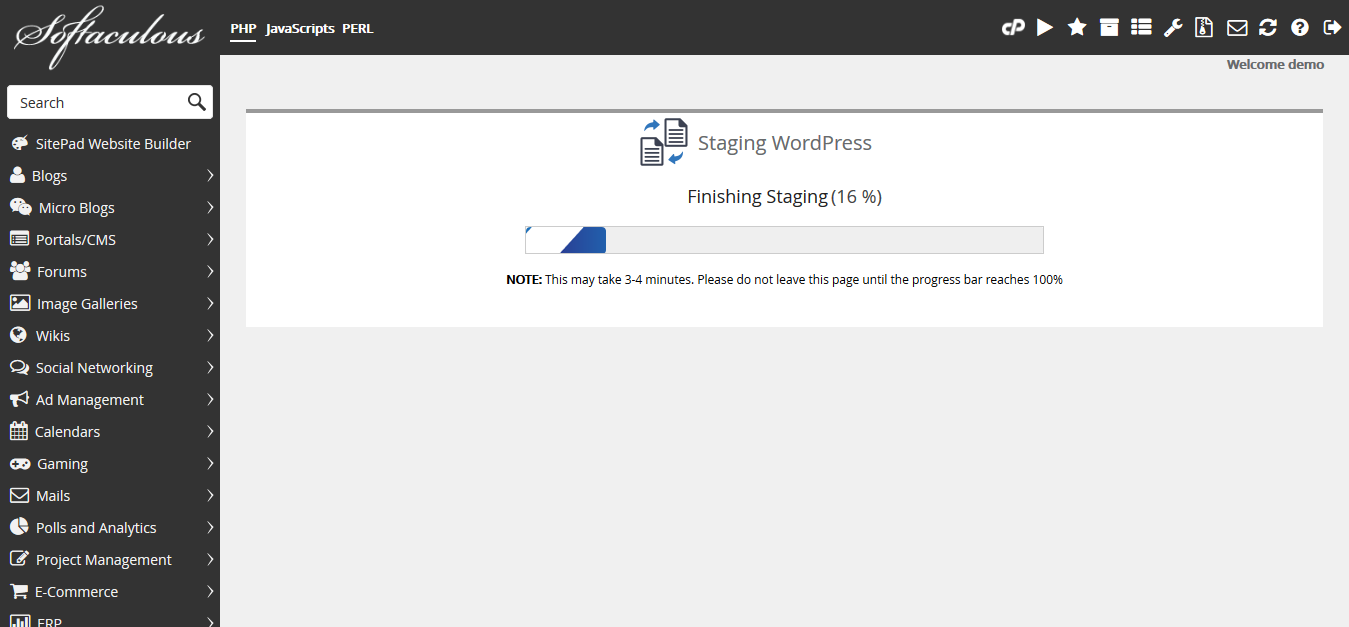
Step 5TestWait for your staged website to install. This won't take long. |
|
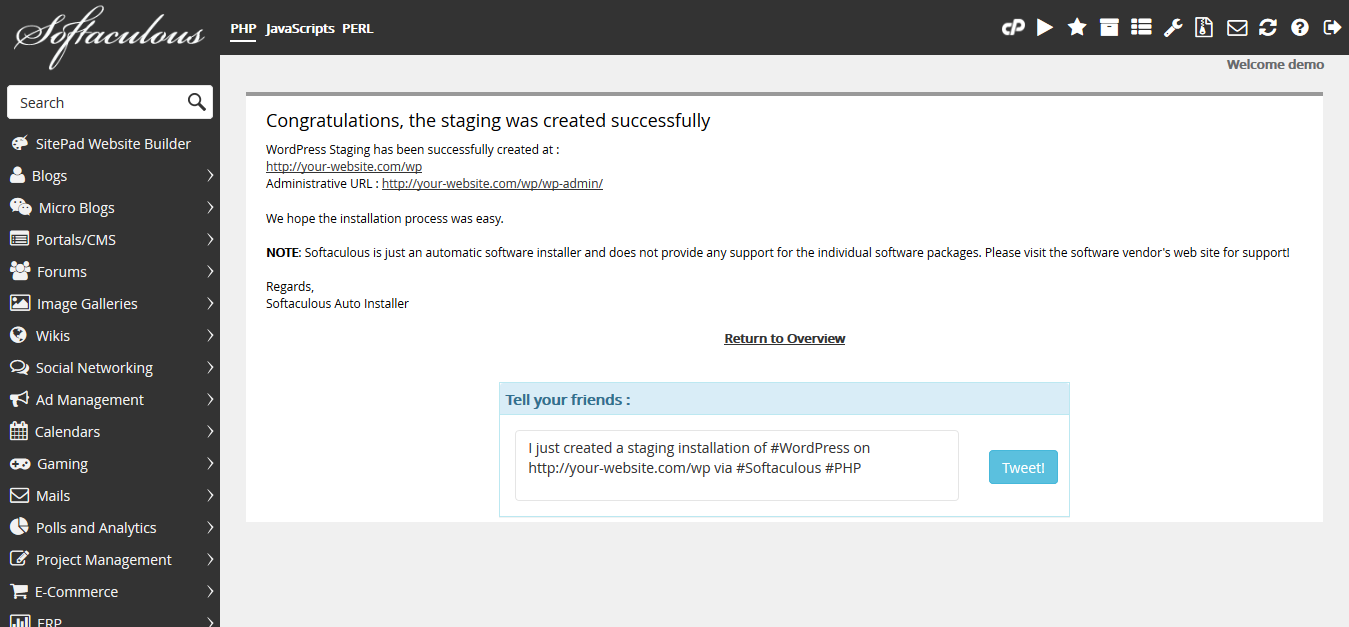
Step 6Start testing! Your staging website will be active at the page address you've specified in Step 4 as soon as it shows complete on this page. |
|

| Info | ||
|---|---|---|
| ||
| You can setup as many staged WordPress websites as you like! This will give you the ultimate in flexibility when testing different plugins and themes for WordPress. You can even create staging websites of your staging websites. |
Related articles
| Content by Label | ||||||||||||||||
|---|---|---|---|---|---|---|---|---|---|---|---|---|---|---|---|---|
|
...