You can configure your email account directly on the iPhone or the iPod Touch. You will simply need the standard email account information: username, password, and the incoming and outgoing mail server host information for your domain, e.g. mail.yourdomain.com.
Bold Text means example, you'll need to insert your own information instead of it.
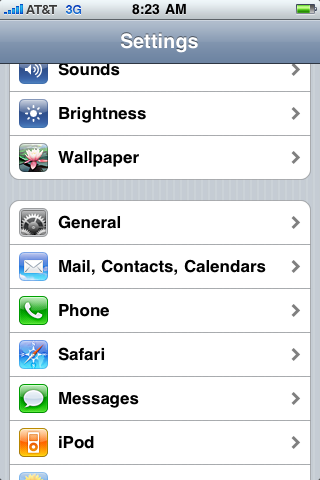
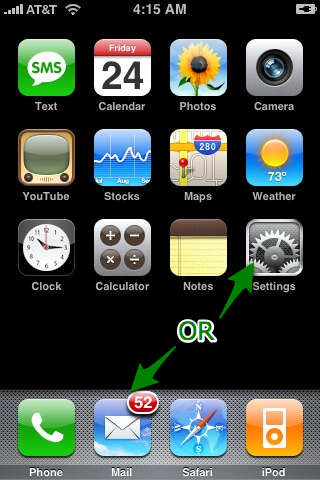
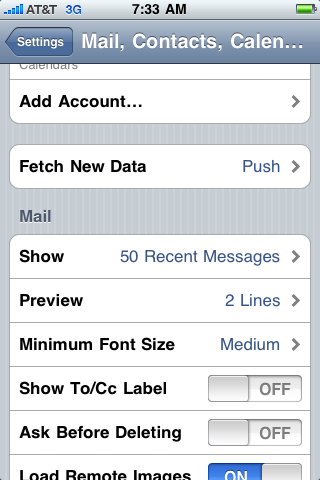
1. If this is the first account you're setting up on the iPhone or the iPod Touch, tap Mail. Otherwise, from the Home screen choose Settings > Mail, Contacts, Calendars > Accounts and choose Add Account....


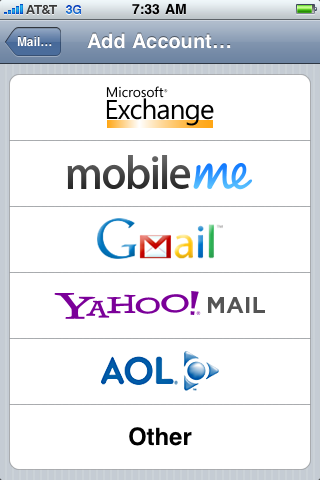
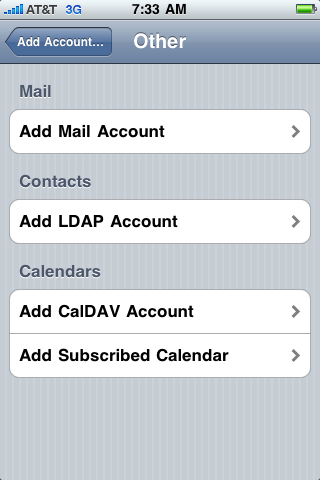
2. Choose your email account type. For setting up your own email address choose Other.
3. Select Add Mail Account under the Mail section and enter account information.
Fill in your name and email address. As an example it's Andrew and email andrew@mydomain.com. Then click Save.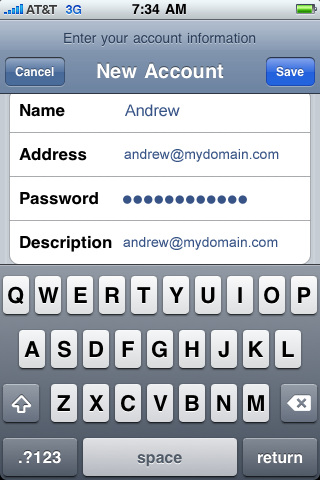

On the next screen enter your account details.
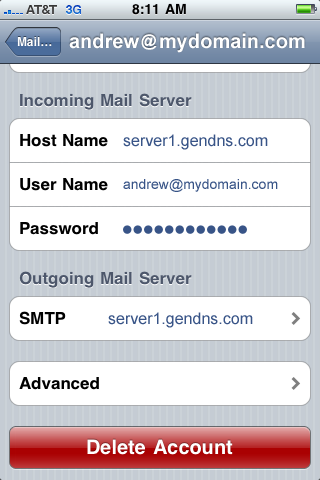
Incoming Mail Server
Host Name: mail.mydomain.com
"server1.gendns.com" seen in the picture above, and "mail.mydomain.com" are only examples, please do not use these on your configuration or your setup will not work. Please use your REAL domain name in place of "mydomain.com" If you are still not sure what to use for your incoming and outgoing mailservers, please ask technical support to re-send your welcome email. These settings can be found in your welcome email.
...
Tap Save to save the entered information. Your iPhone will then verify your account information.
5. Upon successful completion you will be taken back to the Mail Settings screen. You will still need to configure your folders since you are using IMAP. Select your newly created account and enter the Advanced section:
Change your IMAP Path Prefix from / to INBOX: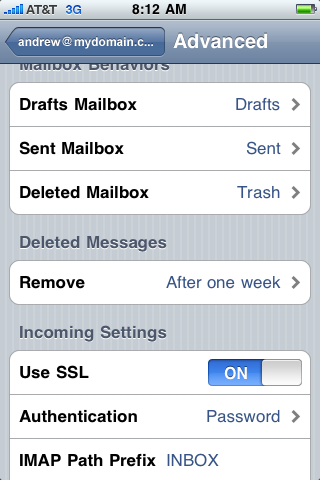

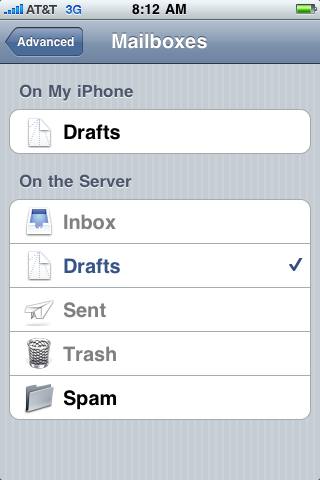
6. Now you will be able to choose the Drafts, Sent, and Deleted folders on the server. This way your folders will be in sync no matter where or how you access your email. Just choose each Mailbox on the same Advanced screen and select the matching folder on the server:
Related articles
...