GlowHost supports free SSL certificates by Let's Encrypt. As a Reseller, you can enable them for specific packages and set up sites for SSL right from your control panel. Let's Encrypt certificates are issued on a 6 month period and are auto-renewed. The best part is Let's Encrypt is completely free.
Follow the below steps to enable and activate Let's Encrypt.
- First, login to your WHM control panel and find the "Feature Manager" on the left hand side. You can use the upper search box to help you find it.
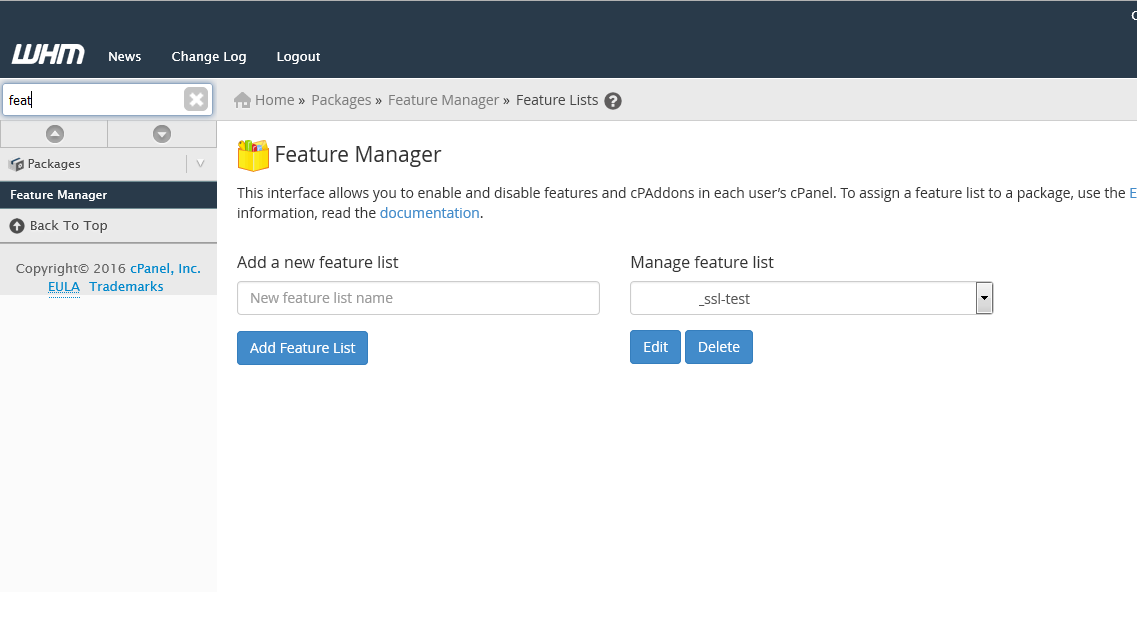
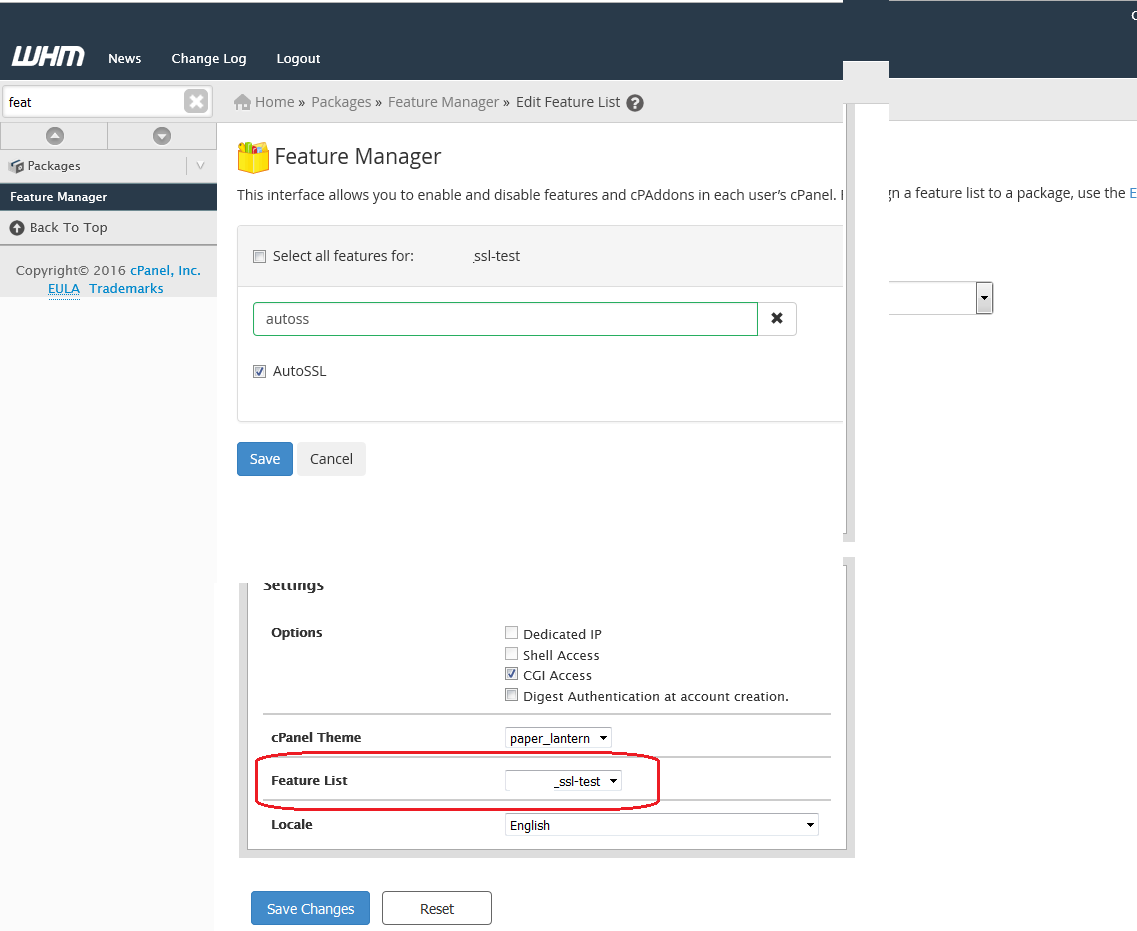
- Enable AutoSSL in the Feature List
- Create or edit a package. From the left hand menu, find the "package" options and select the one most appropriate for you.
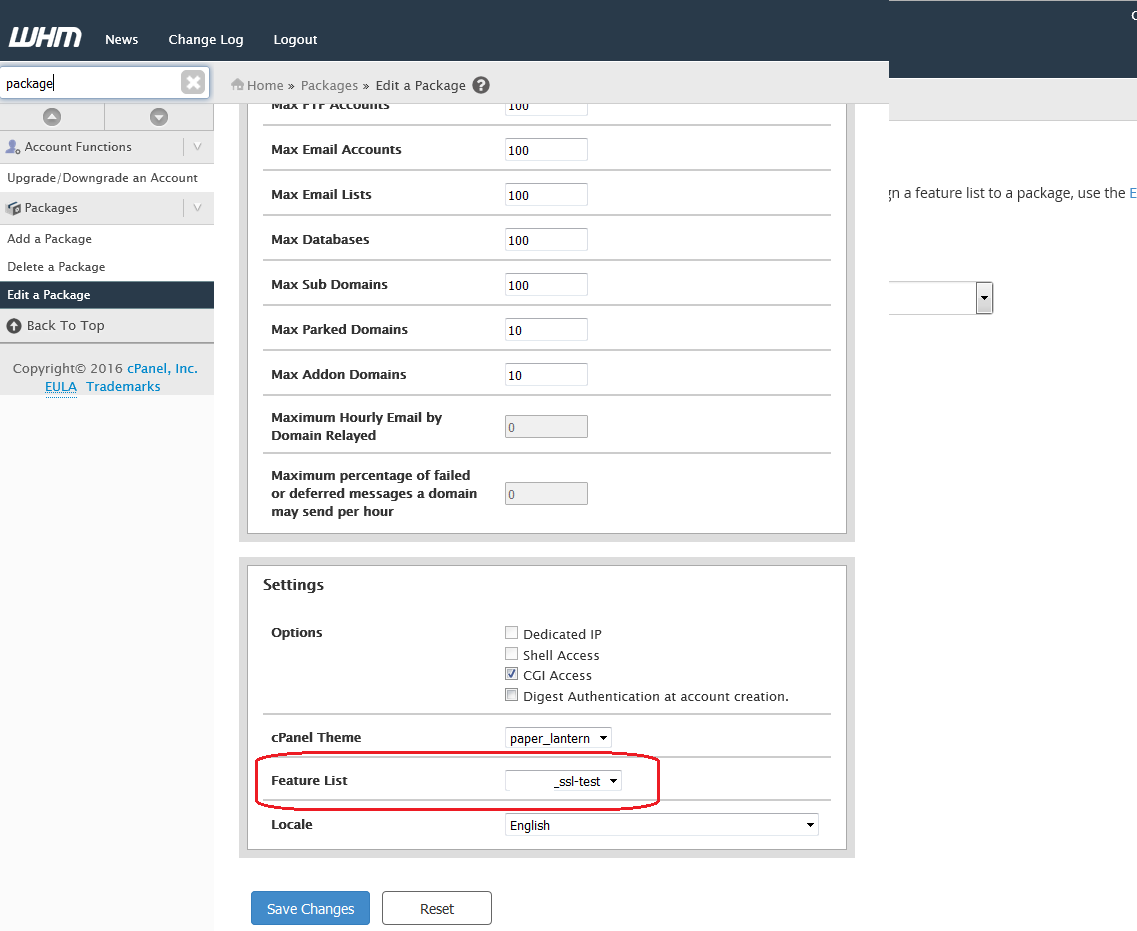
That's all there is to it. Every account that is assigned the package with AutoSSL enabled will automatically have a free Let's Encrypt SSL issued and installed within 2 - 4 hours.
NOTE: If your cPanel accounts under your reseller do not have a package assigned to them, you will need to create / edit one and assign the package with AutoSSL enabled as above to the cPanel account(s). To do this, find "Modify an Account" and select the cPanel account to assign the package to. On the next page you will be able to select the package from the dropdown menu. Be sure to save the changes.
Related articles